If you consider yourself a 3D printing enthusiast you need to try modifiers in REALvison. Why? It’s going to change how you think about 3D Printing. Let’s take a look!
Modifiers in the latest version of REALvision allow you to use the geometry of one object to define an area in 3D space that will use different settings for printing compared to the rest. Discover how to use it:
Here’s how it works in practice:
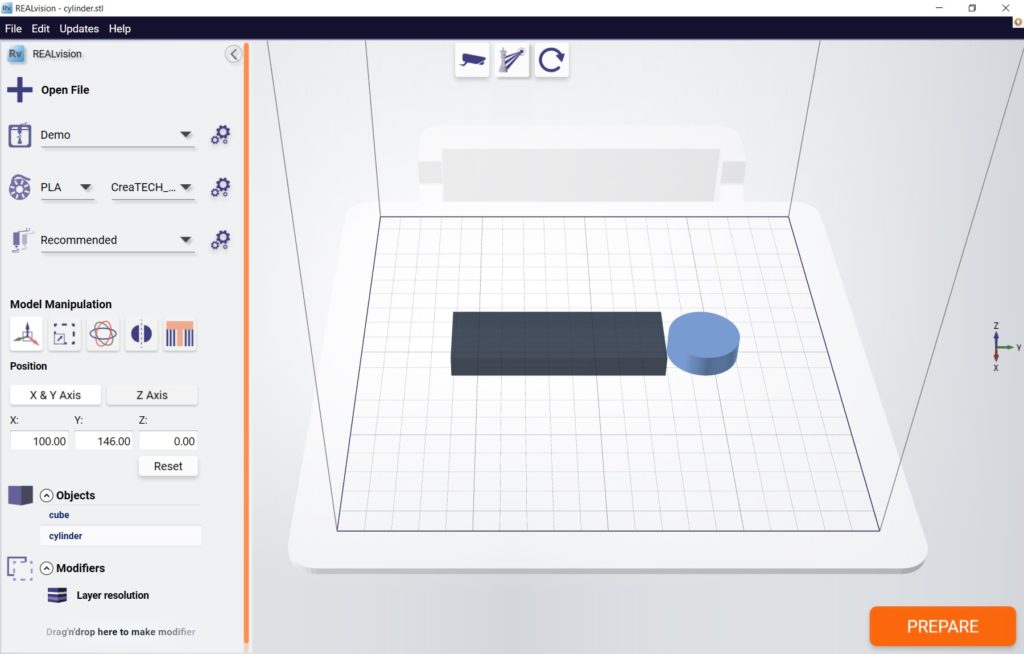
First, add both models to the workspace:
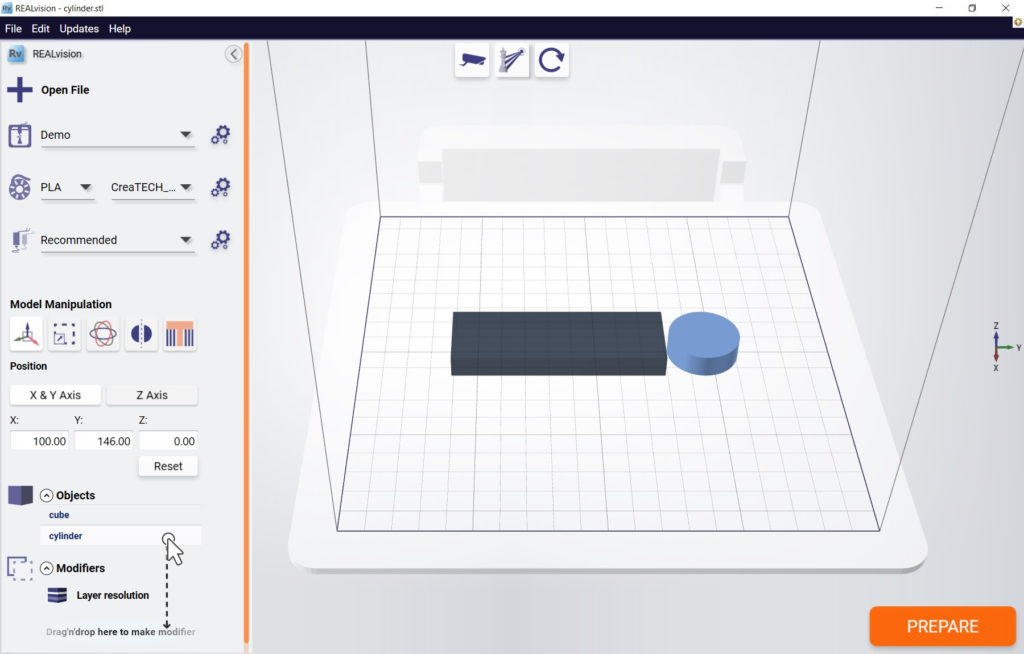
Next, click and drag one of the objects from “Objects“ into “Modifiers“:
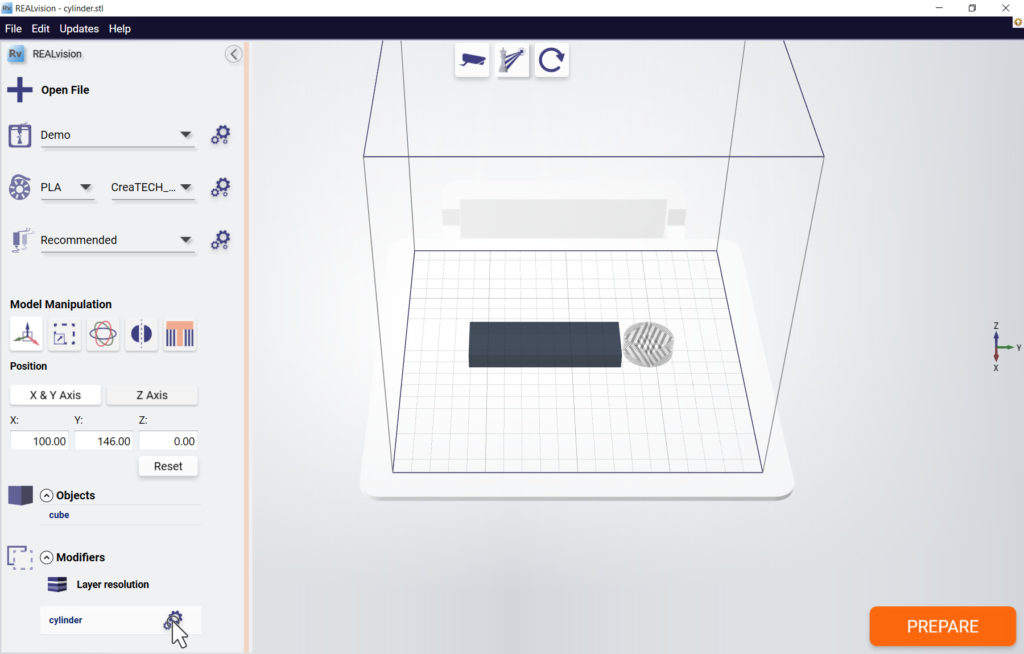
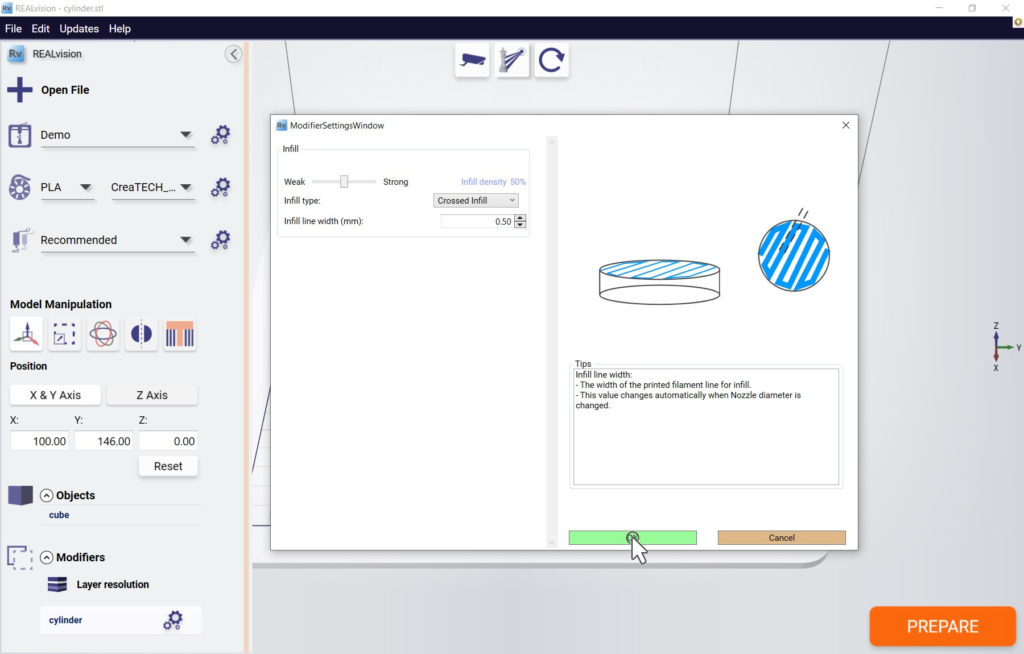
Then, click the freshly appeared settings button next to the name of the model:
You can now freely choose the parameters you want to modify. In this case, increasing the infill density to 50% from the default 15%.
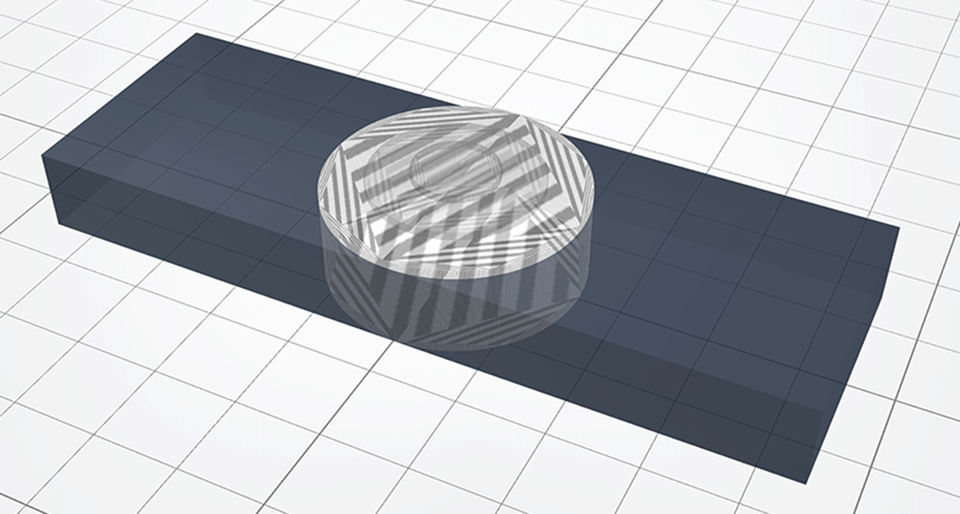
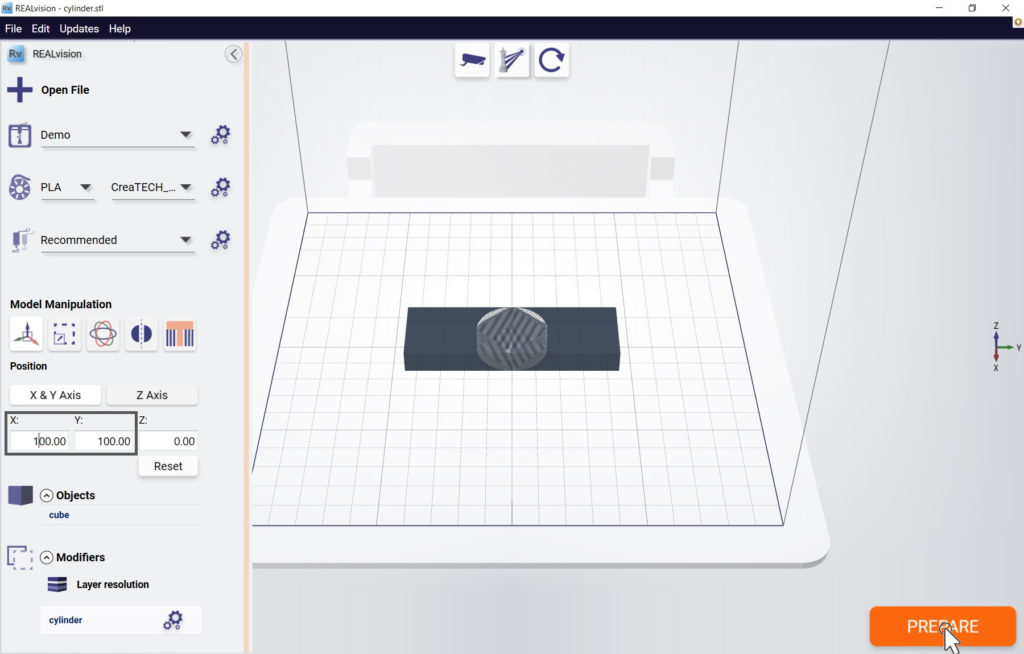
After pressing “Ok” we next need to make some arrangements. Click and drag the cylinder so that it overlaps the cube, or use the X,Y fields under “Position”. In this case both models were moved to X:100.00, Y:100.00, Z:0.00.
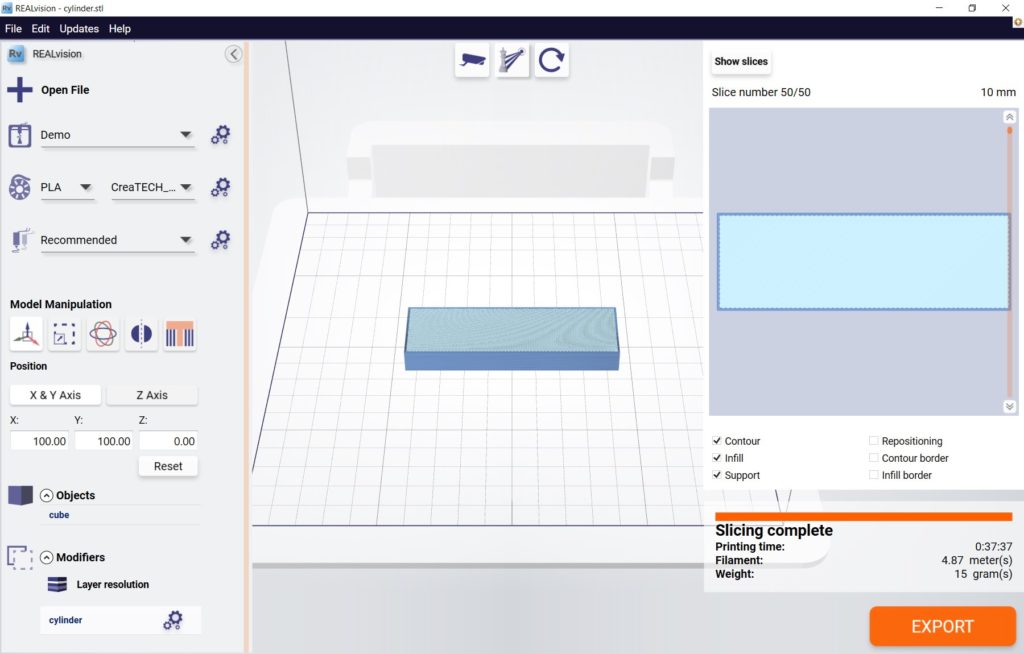
You can now click “Prepare“ and after a few seconds you can now see the fruit of your labour:
An ordinary cube.
Or is it?
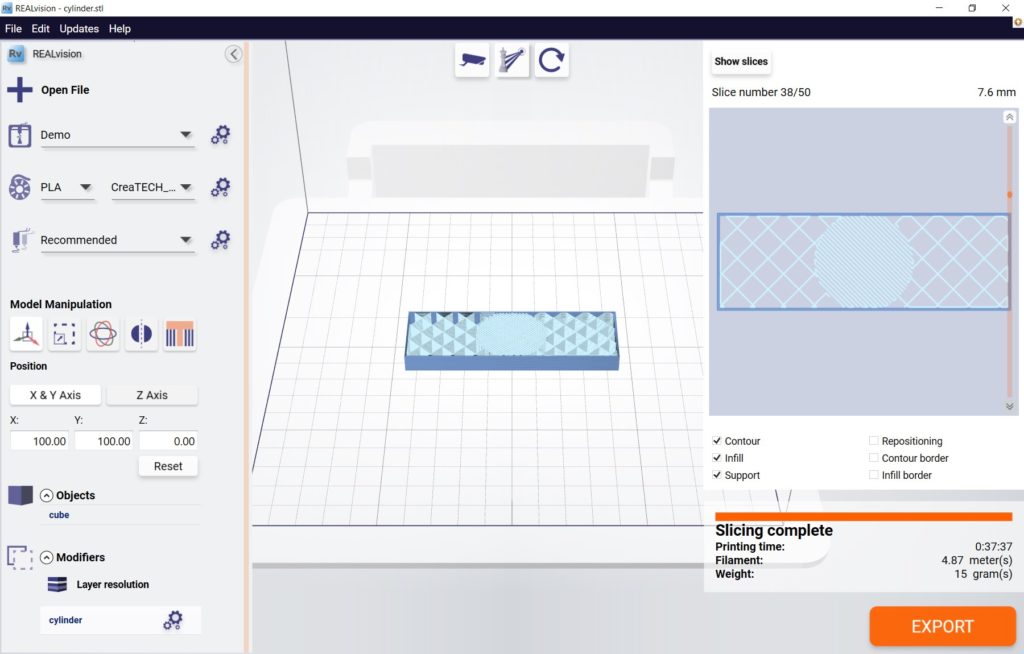
The real magic happens when we look below the surface and scroll down a few layers:
Inside the original model there is now a region shaped exactly like our modifier model that has higher infill density than the surrounding region.
It might not seem much but this is actually big news.
As engineers we’re used to thinking about shape and material when it comes to designing products. But that sort of thinking can be quite limiting. Modifiers allows you to think not only about the shape of your objects but their properties.
Here’s four ideas to get you started:
Change the balance or buoyancy
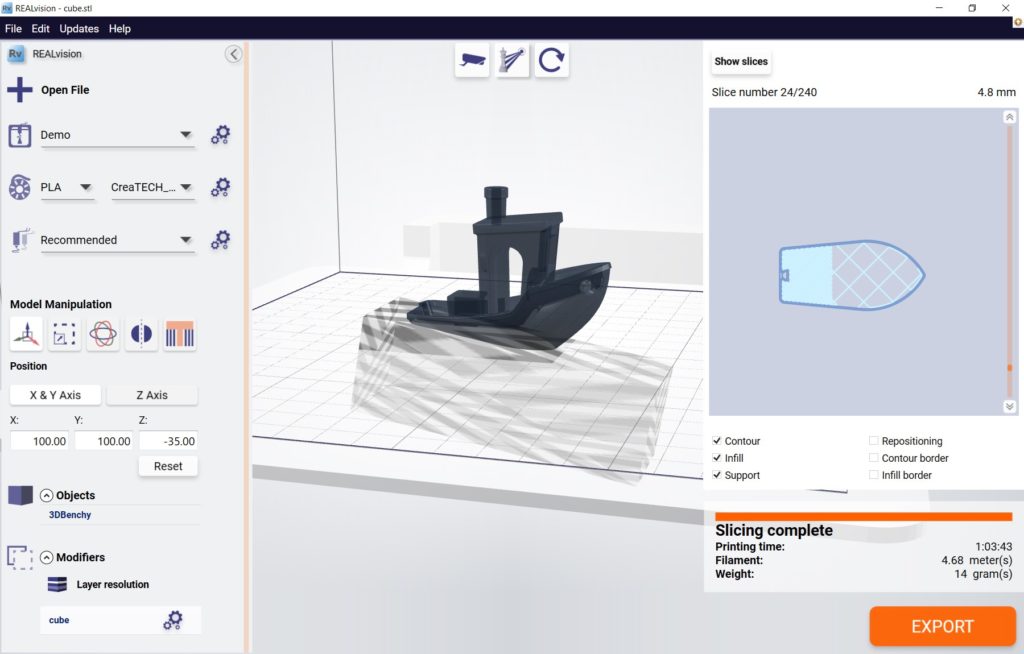
We used this trick to make 3DBenchy (The jolly 3D printing torture-test by CreativeTools.se) float. A cleverly placed full infill modifier allowed us to move the center of gravity further down and towards the stern:
Strategically reinforce or weaken areas.
With modifiers you can add a bit of extra material, where needed:
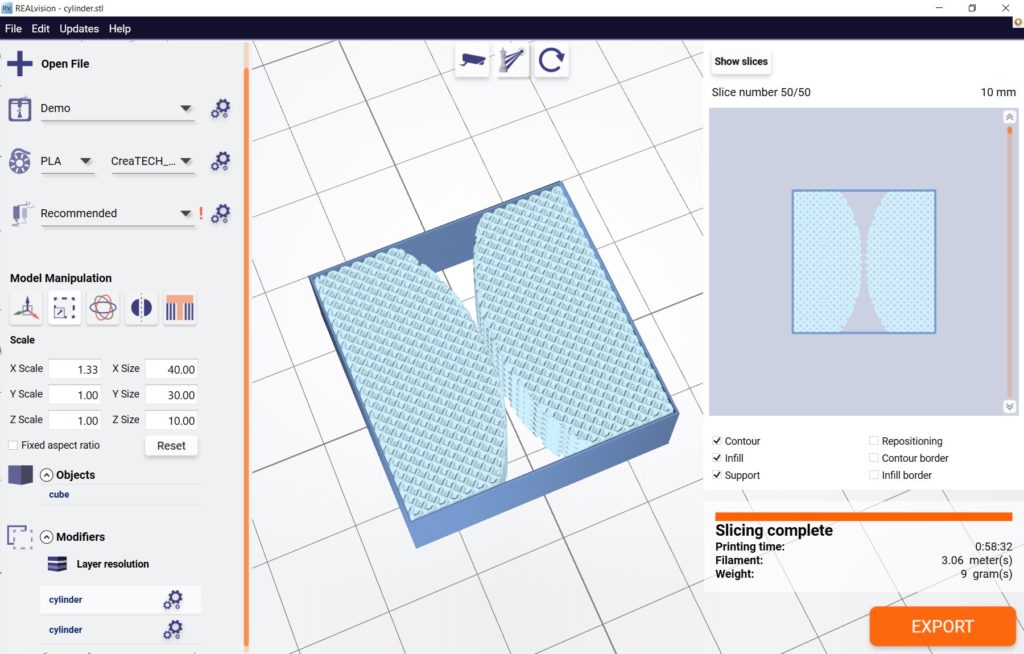
Or remove some and create flexible joints (living hinges):
Create internal cavities and structures
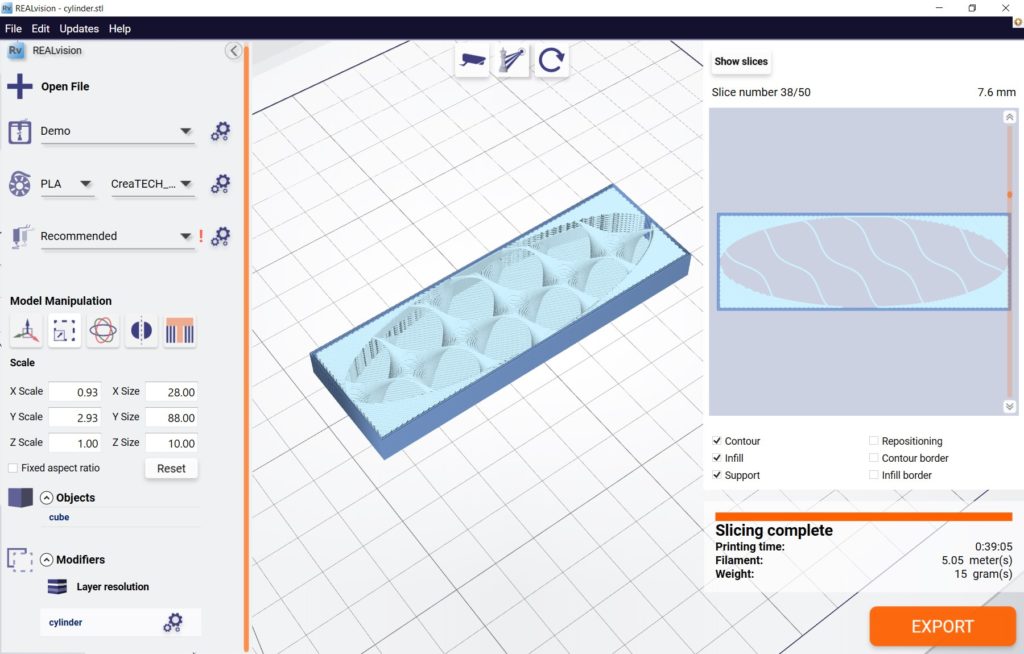
You can use a modifier with 0% infill to create cavities inside an object to affect it’s acoustic properties (3D printed musical instruments anyone?)
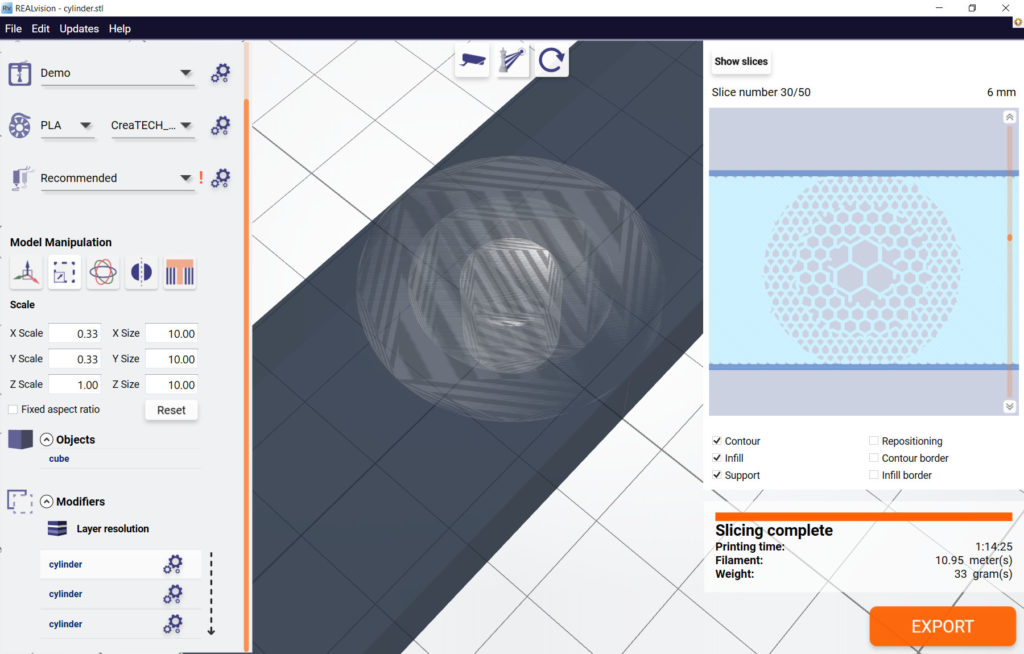
Create smooth transitions by overlapping regions
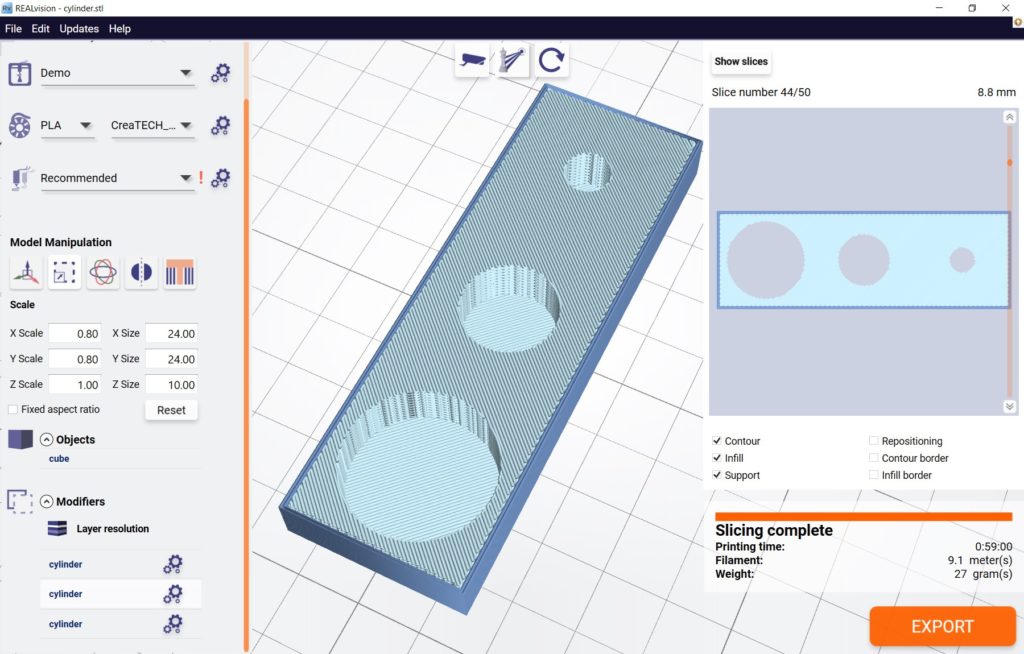
Modifiers can be overlapped with each other, in which case their order of priority goes from top to bottom on the list.
With this functionality, you can create a smooth transition between different areas by placing a few concentric cylinders on top of each other.
Can you think of anything else?
The opportunities are endless. Us and our partners have been successfully using this new feature to create new products and innovative business models.
We can’t wait to see what you’ll do with this new powerful feature!
If you want to give it a try and don’t have REALvision Pro yet, you can sign up for a free trial here. If you’re already a REALvision user all you need to do is sit back and wait for the update to appear on your device.
Want to get the most out of your 3D printer?
Get in touch today to see how Create it REAL’s technology can benefit you.
[vc_btn title=”Contact Us Now” style=”flat” color=”sandy-brown” align=”left” el_class=”cir-accent” link=”url:https%3A%2F%2Fwww.createitreal.com%2Fcontact%2F||target:%20_blank|”]


3 Comments